Showing posts with label craft project. Show all posts

Wednesday, 31 August 2016

Craft and Coffee Wednesday - polymer clay trinket dish

Hello there,

Welcome back to another craft blog post from Bake, Natter and Roll.

For this project you need to make sure you have some polymer clay before you start - but its a really simple craft project and you can either keep the dish for yourself or they make cute gifts....


These marbled beauties are made using several different coloured polymer clays, I love the effect and you never quite know what you are going to get.

I use Fimo clay - not sure why...I just love the colours.


The more colours you use for this project, the more colourful your final dish - for this one I used just three colours. To start off with you need to make long sausage shapes out of your clay...


In this case I used more white than the other two colours. 

Next you need to twist the sausages together, before turning them into a ball of colourful clay...


Next you need to start rolling your clay out.....and this is where the magic happens. 
I used a glass jar to roll my clay- this meant I could see my clay as it marbled....


I enjoy this part of the project - watching the colours marble and blend. 
Do it slowly though, otherwise you might loose the marbling effect. When you're happy with your colours you can cut out a small circle of the clay...


I probably could have used a bit more clay for this project - as you can see I only just had enough! Next lie this circle into base of a small dish in order to shape it...


Then you need to bake your clay (in the dish) following the manufacturers instructions. 
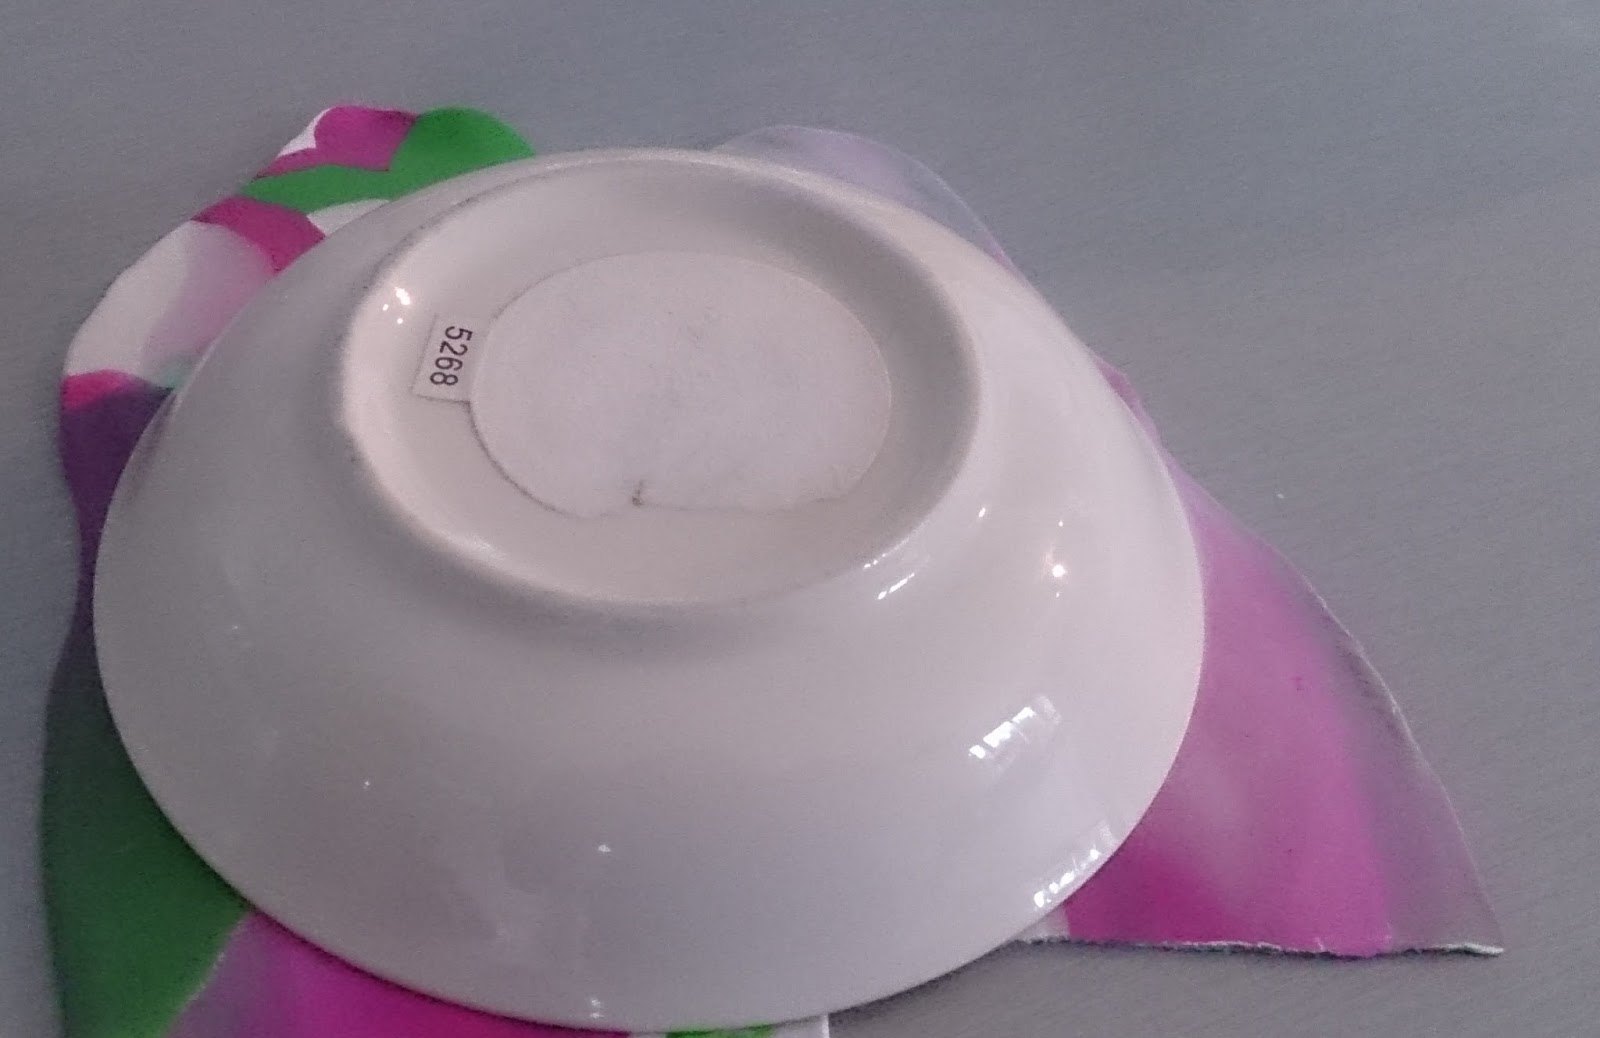
When the time is up, remove your dish from the oven and leave it to cool. Your dish will just fall out when you turn the china dish upside down.


Now my dish had some rather rough edges, so I just got a nail file and smoothed the edges down.

The next bit is optional, as you can just leave the dish unglazed. However, I think the finish you get from Mod Podge is lovely and works really well with the marble effect.

So I gave my dish two coats...


Finally I was finished.....and I just love my little dish....


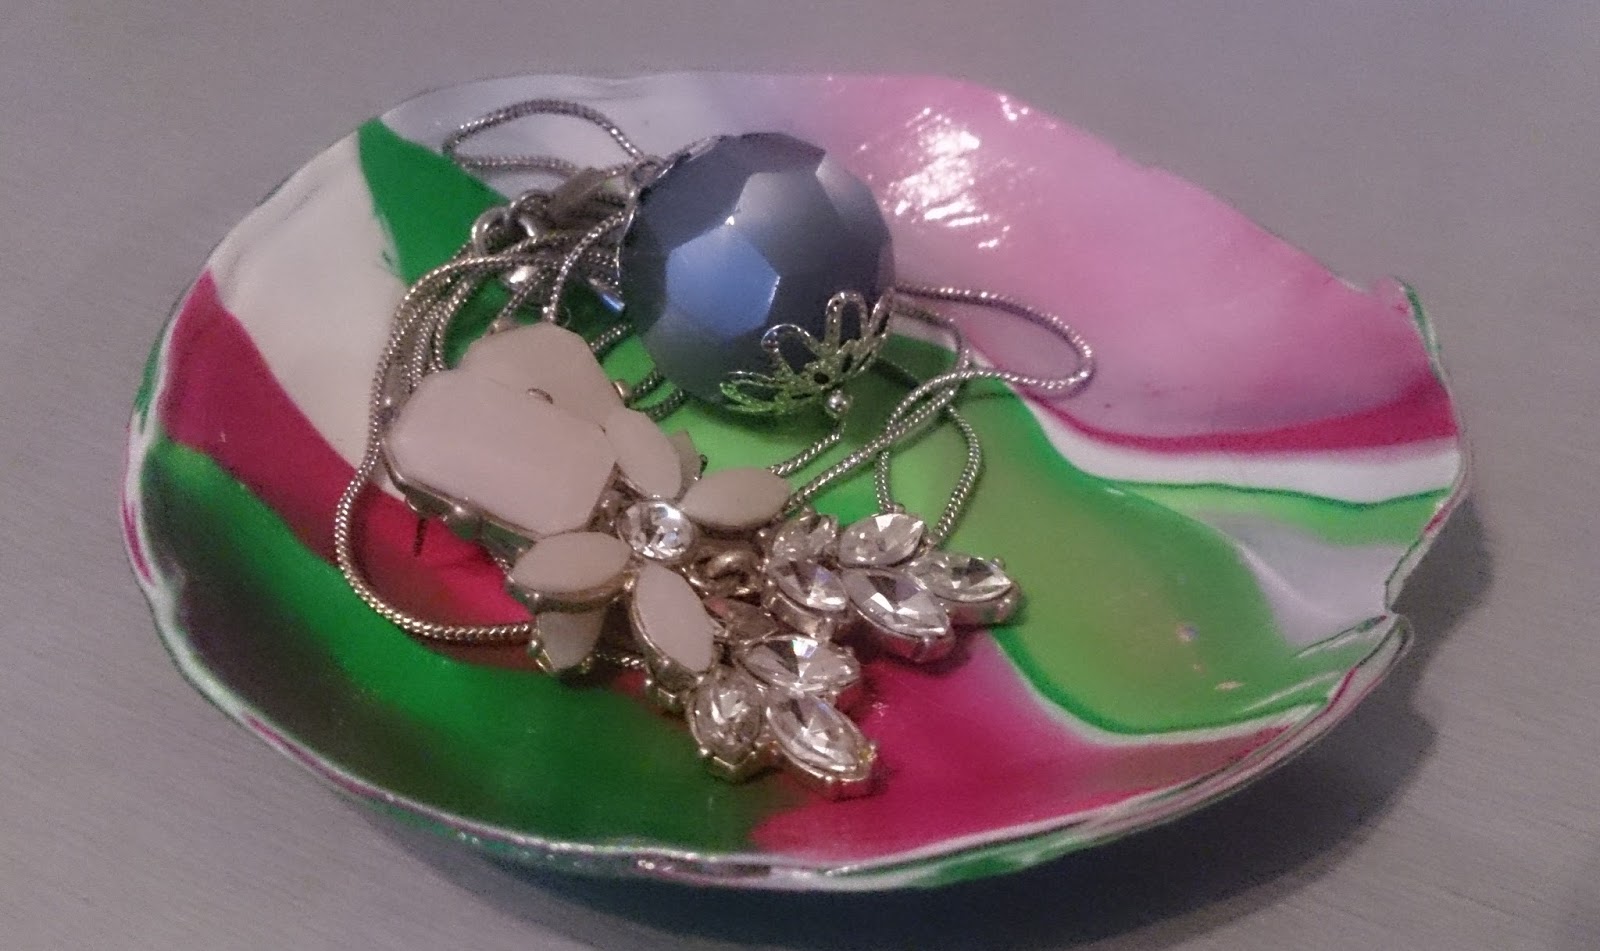
This project might not be as quick as some of the other projects (as you have baking, cooling and drying times to factor in), but I think the uniqueness of the marbling makes up for the wait! 

We hope you've enjoyed this project -we'd love to see your makes if you try it at home! Send us a photo of your trinket dish!

Thank you for popping by today,

The Bake, Natter and Roll Committee

Wednesday, 24 August 2016

Craft and Coffee Wednesday - quick bunting card!

Hello there,

Welcome back to the Bake, Natter and Roll blog, home of Farnham WI.

Today we're going to share another quick and easy craft project with you.....and this week we're making a card. It's always handy to have a card ready....and you can use this one for lots of different occasions.....

Quick and easy card from Bake, Natter and Roll

To make this card you will need:

Coloured and patterned papers
Blank card
Washi tape
wool or sting
sticky stuff -glue or glue dots
scissors


If you haven't got a blank card to use, simply use some white or coloured card to make your card blank. If making your card, it can be any size you like.....I find square cards work well for this design.

First you want to cut out and fix your background papers -if you haven't got any patterend paper at home, simply use coloured paper or wrapping paper works well too.

I opted for a plain green and multi-coloured striped paper for my card...


Next you need to make your bunting...

Cut three or more pieces of washi tape and lie them flat on the table (you can do this altogether or individually if  find it less fiddly), next you want to lay your wool / string across the tape...


Next, fold each piece of tape over onto itself and then cut a small triangle from the bottom to make the bunting shapes...


If you haven't got any washi tape, just use some coloured paper and stick it down. This is a little more fiddly, but just as effective.

You now need to fix the bunting across one corner of your card, tucking the ends of your wool / string under the paper...

Mini sparkly bunting!

On the opposite bottom corner of your card attach a white piece of card / paper backed with coloured card / paper - this is where you can write your sentiment.

And this is what makes the card really useful, as you can make the card up and just leave the sentiment card blank until you know what type of card you need!


And that's it - simple, quick and perfect for lots of occasions!


We hope you've enjoyed this quick craft project - if you have a go at home we'd love to see your cards....send us a tweet or a Facebook message! 

Thank you for popping by today, pop back soon for another quick and easy craft project!

The Bake Natter and Roll Committee

Wednesday, 10 August 2016

Craft and Coffee Wednesday

Hello there,

Welcome back to Bake, Natter and Roll's Blog - we hope you're well today.

Today we're sharing a new post with you - time to take five minutes out of your busy day and take a peek at a quick craft project! We're a crafty bunch at Bake, Natter and Roll and we thought you'd enjoy seeing some of our makes.

Today we have a quick and easy Mod Podge project to jazz up some boring old glass jars to use as storage jars. All you need for this project is your glass jars, some pretty decoupage paper, a jar of Mod Podge and a brush....


Never heard of Mod Podge before? Basically it's a water based sealer glue finish which can be used on all surfaces. It's non toxic and the one I use has a gloss finish.

Using the product is a simple case of building up layers of the decoupage paper on your jar, using the Mod Podge to stick and seal the paper. You can add as many or as few layers of paper as you want - the more you use the denser the finish.  The Mod Podge dries into a clear, glossy finish...


It's a really quick and easy way to jazz up your old jars! 

I used mine to store my sewing scissors on my (messy) sewing table....


We'd love to see your Mod Podge projects - send us a photo to our Twitter page!

Pop back next week for another Coffee and Craft Wednesday!

Thanks for popping by today,
The Bake, Natter and Roll Committee

Thursday, 4 August 2016

Inspired by our monthly meeting - Make, Do and Mend!

Hello there,

Welcome back to the Bake, Natter and Roll blog, we hope you're well today!

It's Rachel here, sharing with you a sewing project that I recently completed. If you popped by the blog recently you'll know all about our July monthly meeting, where we met Alice and Ginny and enjoyed a talk about make do and mend. I was really inspired by one part of the talk in particular - the bit where an old shirt was unpicked for the fabric. I was amazed at the amount of fabric that you got from just one shirt!

With this in mind I scoured the local charity shops in Farnham, looking for something I could unpick and upcycle into something new. I came across this shapeless dress in a fab tropical print, which cost me just £3.95. I wouldn't have picked the dress for myself, but I loved the fabric....


It's a size 16 dress in a light, floaty fabric that I thought would make a lovely summer top.

The first thing I needed to do was unpick the seams and see how much fabric I had to play with. I unpicked one of the side seams first, then I started on the bias binding that was attached to the neckline and also used for the straps. 

I wish I had been a little bit more careful with the bias binding, the majority of it came off really easily and was reuseable.....but in my haste a bit of it ended up with holes. 

I was really impressed with the amount of fabric I got.....this little lot would have cost me more than £4.00 if I bought it new....


I have a pattern for a simple, sleeveless top that I knew would work well in this fabric. I knew I could reuse the bias binding for the arm holes, so I just needed to add a little black bias binding for my neck line. 

So I got started, cutting my fabric out....with a little help from Steve the cat....


As mentioned above I reused the original bias binding for my arm holes....


...and used a little black bias binding from my craft stash for the neck line....


I had more than enough fabric for this top, and although it wasn't the easiest fabric to work with I was pleased with my finished piece and I've already worn this top out....


There is nothing better than making your own clothes....having something that no one else has and that tends to fit you better than shop bought clothes.

I also loved the challenge of taking something old and making it into something I would wear. 

My top tip if you wanted to do this yourself (and I would encourage you to) is to take your time when unpicking the seams. Less speed means less rips in your fabric!

I'll definitely be doing this again in the future - thanks to Alice and Ginny for the inspiration!

Thank you for popping by today!

Rachel - The Bake, Natter and Roll Committee

Sunday, 20 March 2016

Time for some Easter Crafting - Part 1

Hello there,

Welcome back to the Bake, Natter and Roll blog - here at Farnham WI we love a spot of crafting and with Easter just around the corner we thought we would share some Easter crafts with you.

Today we're starting with a really simple papercraft, which is perfect for giving mini eggs to friends and families this Easter. We've been making paper carrots....


All you need to make this cute little gift bag is some orange card, some green ribbon and some basic craft supplies (pencil, ruler, scissors, hole punch and sticky stuff).

First you need to create a template for your gift bag - I started by creating the shape for one side of the carrot and then I used that to create the full template. You'll need four of the sides, plus a little tab for gluing everything together....


I made my basic triangle shape 12cm x 8.5cm and then added a curved arc to the top, so it looked a little like an ice cream cone.....


Once you have cut your template out, you need to score along the long lines between each side of the carrot shape. You'll also need to score a line across the top edge of the triangle shape....


Once you have finished scoring all the lines you can start folding. 
Make sure you fold the arc shape inwards.....


Finally you need to punch holes in the top of the arc shapes, this is for threading the ribbon - so pick your punch size/shape depending on your ribbon width. Once you have punched the holes, you can fold the carrot shape and stick the tab in place.

The finishing touch is the green ribbon, which keeps the carrot together at the top but also looks like carrot leaves......


A very simple, but cute Easter project....


If you give this craft a go we'd love to see the results - send us a photo on Twitter or via our Facebook page! 

Thank you for popping by today,
the Bake, Natter and Roll Committee